Mfr Part # 1063
EVAL BOARD FOR MAX4466
Adafruit Industries LLC
Let’s explore sound-reactive electronics– projects that can sense and respond to sound. In this post, I’ll share many ways to sense audio, from basic vibration to voice recognition, so that you can pick the right path for your project.
If you’ve been following along with my Electronics with Becky Stern YouTube series, you’ve learned how to work with basic inputs and sensors from our Arduino Input/Output episode. If you’re new, check out those earlier episodes of the series to strengthen your foundational skills and build your first circuit.

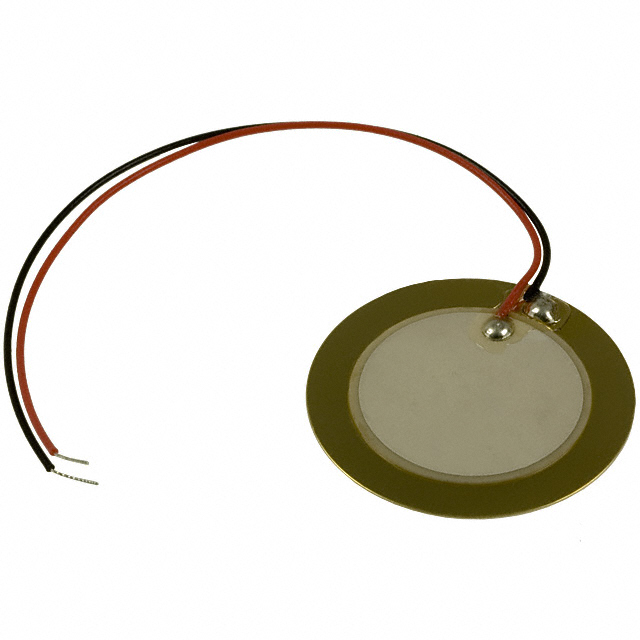
Audio sensors are just another kind of input. Once you can read its data, you can make lights flash, motors spin, or trigger other creative effects in real time. The first component I want to show you is a piezo element. When it’s wired up like this, we often call it a ‘contact mic’ because it can measure vibration by being directly in contact with an object.
The most fun project example I can think of to show you is the Secret Knock Gumball Machine. It takes a special sequence of taps to unlock the candy, where the sensor is a piezo attached to the underside. The Arduino code is reading the piezo signal through an analog input pin. This makes it easy to adjust the threshold for how hard you have to knock, which this project does with a potentiometer.

And yes, piezos are the same thing that’s inside those little buzzers, too. Because not only do they turn vibration into electrical flow, they also do the opposite, so it’s possible to vibrate them by driving them as outputs.

The next category of components I want to introduce to you is microphones, which capture sound vibrations from the air, not just mechanical vibrations through direct contact. There’s a diaphragm that influences the electrical flow through a coil of wire in proportion to the sound waves it encounters.
There are two different kinds of readings to play with: amplitude and frequency.
Amplitude is the loudness of a sound. That’s how big the pressure wave is. This is what simple microphones measure by default. You might use amplitude to fade LEDs brighter when a sound gets louder or trigger a motor when a sound passes a certain volume threshold. I’ve made a couple of wearable LED projects using a little microphone plus an amplifier breakout board, and they always make people smile.
The code for these two projects provides a good example of normalization, where the program samples the volume multiple times, then dynamically adjusts the LED animation so it looks good in both loud and quiet environments—Shoutout to Phil B, who wrote this excellent Arduino code.
.gif?la=en&ts=ebd7e0f0-5bd7-4da6-ac34-2c0bfc31aa0b "Making Sound Reactive Projects")
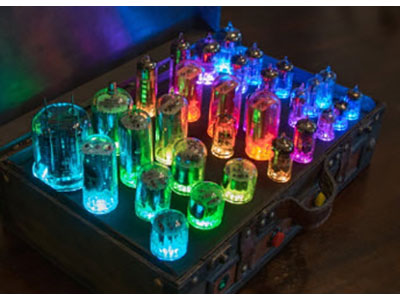
Frequency is the pitch– how high or low the sound is. To work with frequency data, you’ll either need to process the audio signal in software or use a chip that handles it onboard for you. Converting a signal from the time domain to the frequency domain requires the most important algorithm of all time, the Fast Fourier Transform (FFT). It’s not easy math, and digital signal processing is a complex field. But for the purposes of this guide, all you need to know is that frequency detection usually involves dividing the audio spectrum into different bands, or buckets. So, when you see a graphic equalizer, you’re seeing lights in each column in proportion to that band of frequencies.
You can use a basic electret microphone for your project, wired to your microcontroller’s analog input, for sensing the presence and volume of sound. But if you want to measure frequency and don’t want to do your own DSP, there’s an inexpensive chip that can do the heavy lifting. It’s the MSGEQ7 graphic equalizer chip, and it splits an audio signal into seven frequency bands and gives you an analog value for each, which you can read with analogRead() in Arduino.

Another fun way to make your project react to sound is through voice and speech recognition, which is easier to accomplish these days than it ever has been before. DFRobot makes a really cool standalone speech recognition board. Instead of just measuring loudness or pitch, this board recognizes specific spoken words. That’s perfect for voice-command-controlled projects, like Kiara’s Workshop’s animatronic Pikachu.

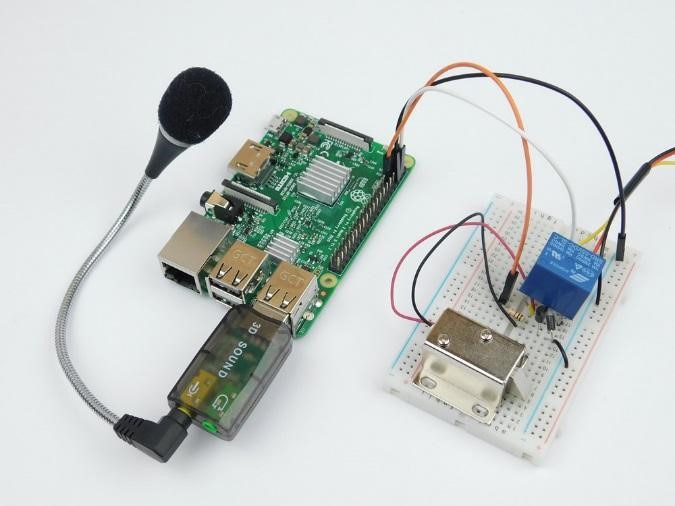
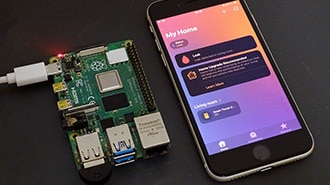
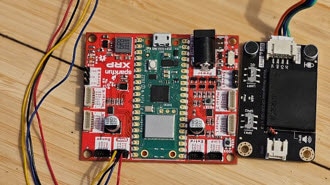
Another way to do voice recognition is through a single-board computer like Raspberry Pi with a USB microphone plugged in. This can be handy for adding voice commands to your home automation system or monitoring your home for specific sounds like shattering glass.

And there you have it– a beginner’s guide to audio-reactivity! DigiKey offers several inspirational and informative project guides you should check out if you’re interested in making a project that reacts to sound.
Check these out:
- Clive Maxfield’s Audio-Reactive Artifact, in which NeoPixels are used to visualize the output of an MSGEQ7 graphic equalizer chip.
- Audio-Reactive Artifact with Arduino–Part 1: The Initial Hardware Setup
- Audio-Reactive Artifact with Arduino-Part 2 Making it Smarter
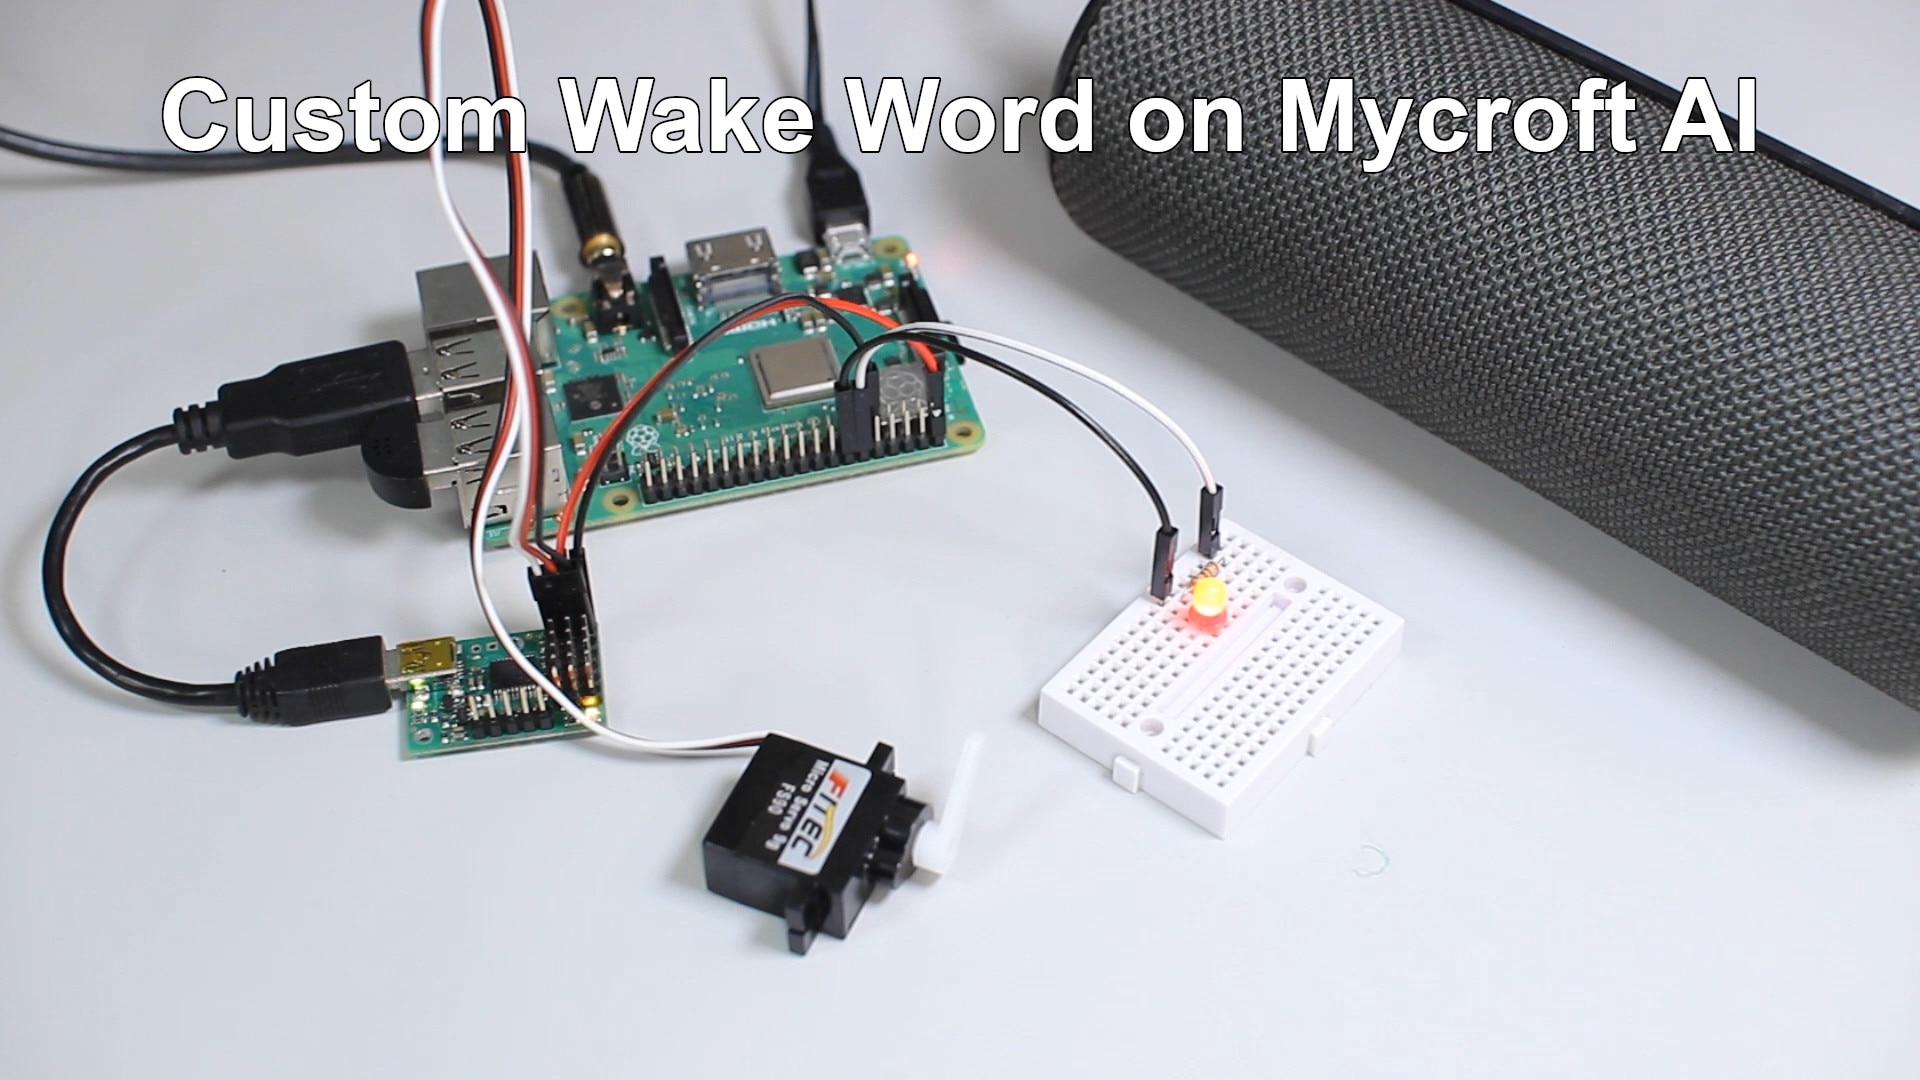
- Shawn Hymel made a guide on how to create a custom wake word for the Mycroft AI voice assistant. How to Create a Custom Wake Word for Mycroft AI
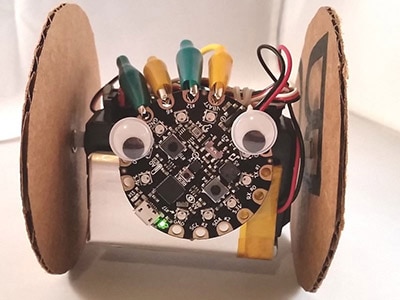
- Shawn and Odd Jayy worked together on the AI voice interactivity of Digit, one of Jay’s latest companion robots. Digit: A Wearable Companion Bot with AI Voice Interaction
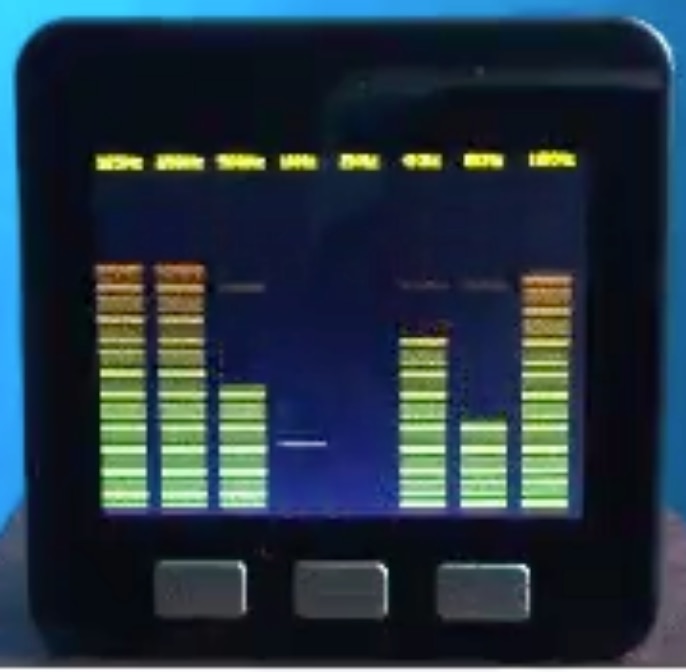
And every week on Maker Update on the DigiKey YouTube channel, you can catch up on what cool projects folks are making around the web, including some impressive sound-reactive projects like Erin St. Blaine’s LED top hat and Pyrograf’s audio spectrum display, both of which have great tutorials if you want to follow along. And don’t forget you can share your own builds with the community on DigiKey’s Maker.io. We’d love to see what you’re working on.